

This is my first Christmas card this year and I am going to show
you how I did this!! The main focus in this project is versatility so let's
get started!!

As you can see here, I have the original Sizzix machine and this die works in it.

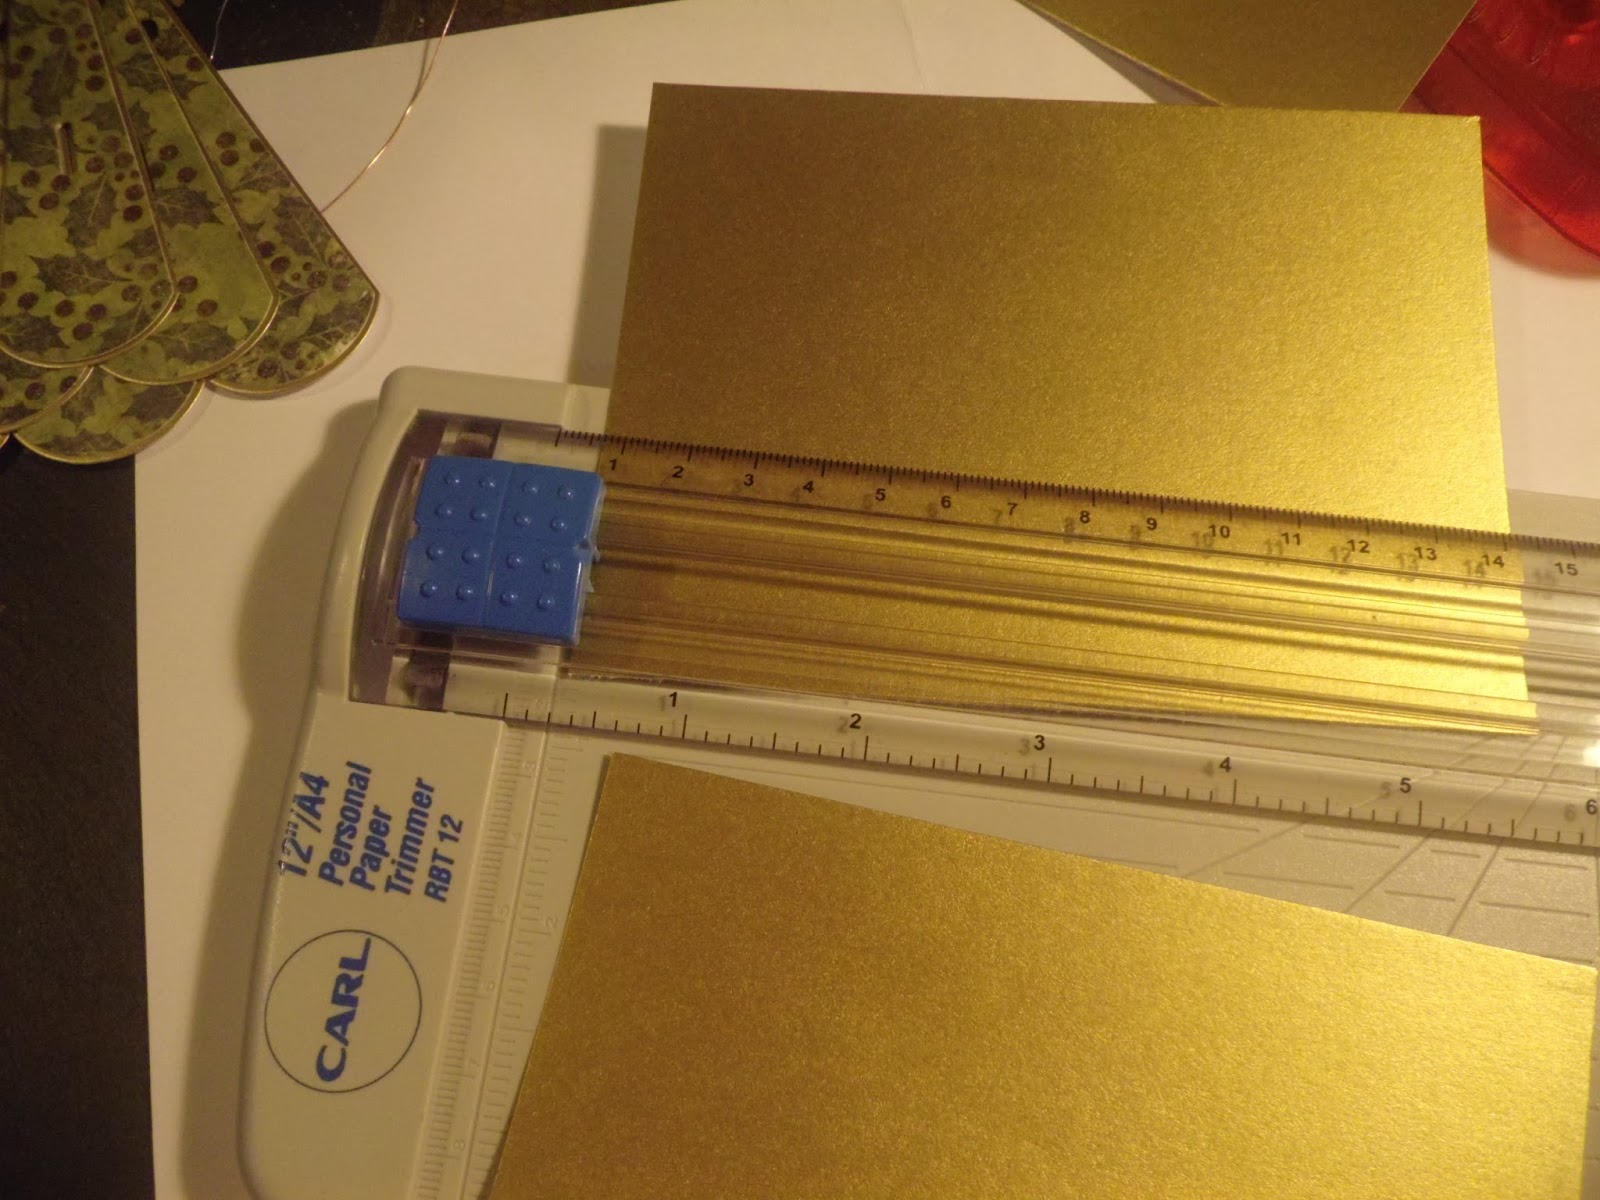
There are two dies to the set and you need to cut six of each die, one die (smaller one) in
a pattern paper and the other die (bigger one) in a solid color paper.

Now you want to glue the pattern pieces on top of the solid pieces. Do this with all pieces.

The larger piece on bottom will give a contrast which makes the fan panels "POP".

Be sure to use the slits in each piece to line them up so you have them straight.

Now you have six fan panels put together. But nope, we are not making a fan.
It is fun to see what you can make with something that is totally
different than what it was intended to be.....

Take three panels and line them up beside each other.

Use your double sided tape to tape across the panels (see red arrow)
and stick two more panels on top covering the seams between the bottom ones.

Here use your slits again and make sure you see the
bottom seam in the top slit (red arrow).

Now do the same with the other one.

Use your double sided tape again on this layer but just in the middle
covering the one seam from the second layer.

Again, use your slit.....
Now cut a layer just about 1/8th inch smaller than your card front,

Stick it down with double sided tape.


Now cut another layer just 1/8th inch smaller than
your previous layer...

Use your tape again and stick it down...

Now you have your card to build upon....

Take the tree you made previously and apply tape to back...

I put tape in a couple of places..

Now make a somewhat large bow for the top of your tree.
This is actually deco mesh I got from the Dollar Tree but you
can use ribbon or whatever you desire....

Makes a really pretty bow!

Now get your double sided foam tape and adhere one to the
back of the bow.


Stick your bow to the top of your tree.

My stringers very very wide so I split the length to make more poof.
Is that a word, lol???

Now I am using a product form The Robin's Nest called Dew Drop Glue.
This you can get here.

And these are Diamond Dew Drops also from The Robin's Nest.
Stick them in multiple places on your tree and you are done!
I did stick a Dew Drop on the center slit to hide it :)
You can add a sentiment to the front if you desire!!

So when you look at products and say "I can only use
that for one thing so it is not worth it", look again, you
may just see another use for that product!!!
Have fun and thanks for stopping by!!!